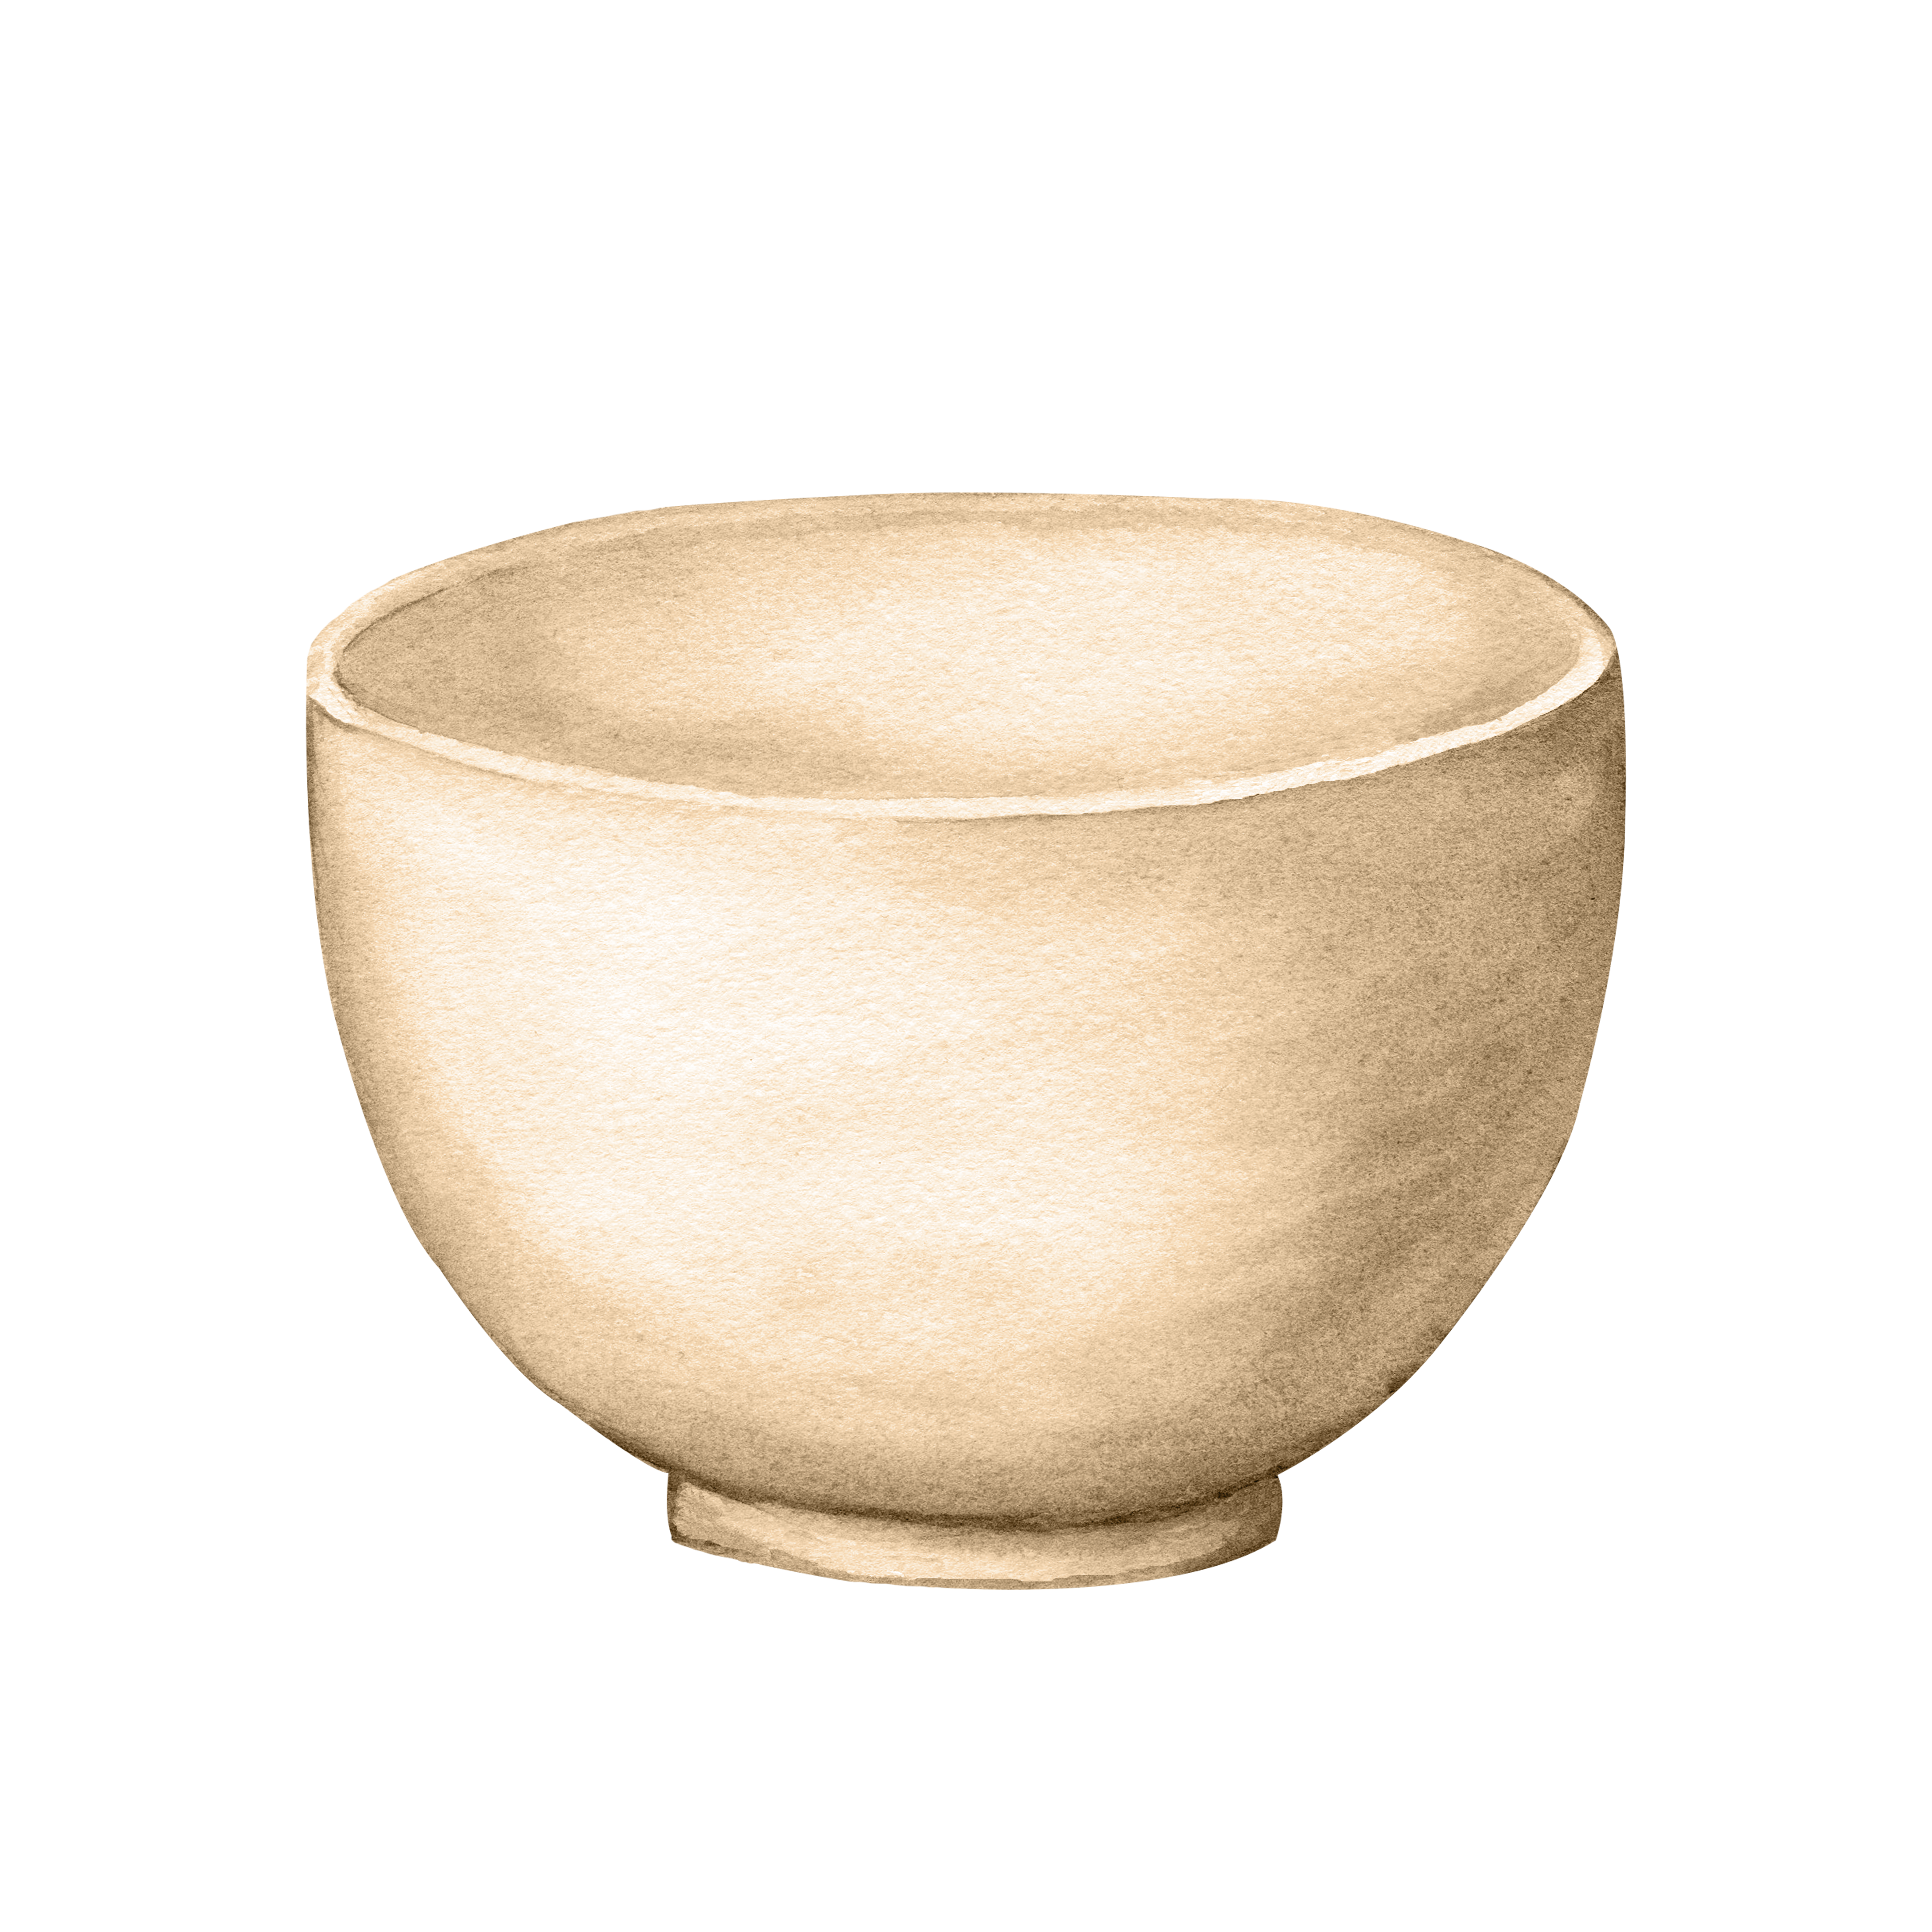
Speckled Field · hand-built bowl
Split the clay into 2 portions, roughly 1:4. Keep both portions covered so they don’t dry out.
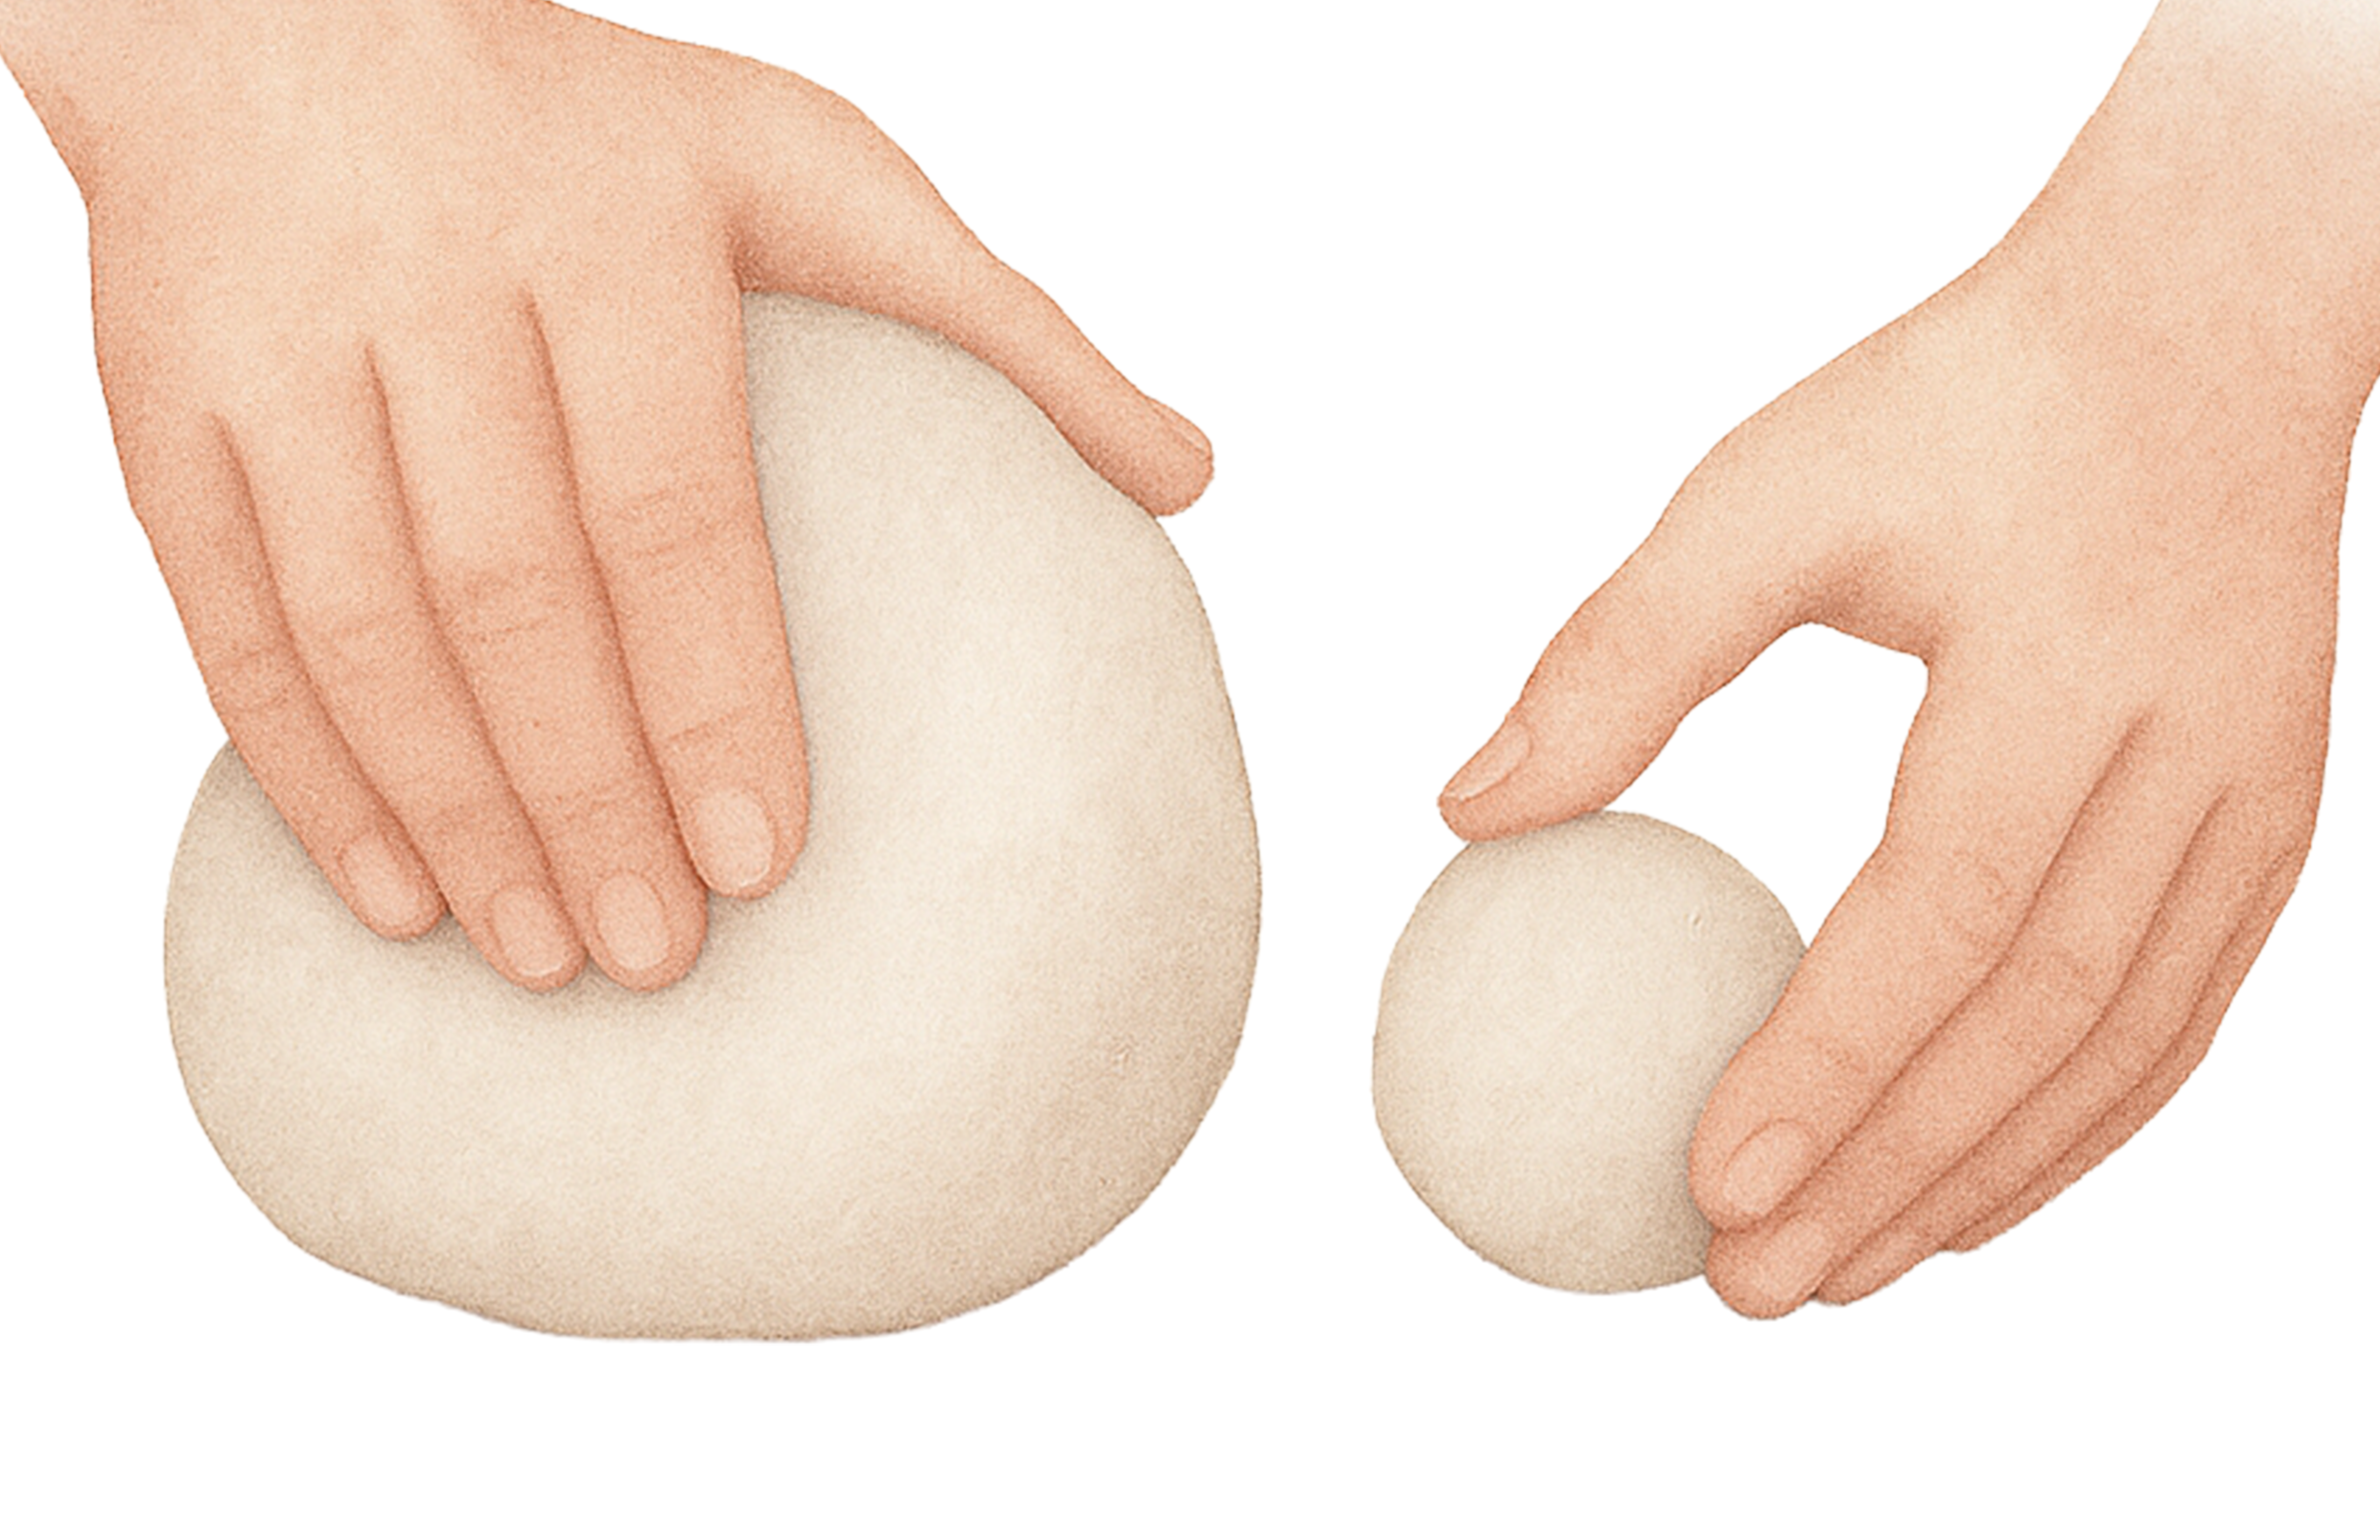
Make a smooth ball from the larger portion. This will become the main body of your bowl.
Use your finger or utensil 1 to pinch a hole in the middle of the ball and gently rotate outwards.
Slightly change the position of your hands and continue expanding out to form a bowl shape.
Refine the edge of the bowl with your fingers and utensil 2 once you’re happy with the overall form.
Take the smaller portion of clay and roll out a long strip with your palm to create the base ring.
Measure the base of your bowl, join the strip into a ring, and blend the seam. Smooth where the bowl and ring meet.
Open the webcam and scan the bowl to check if there’s improvement needed.
Use the sponge from the box, damp it slightly, and smooth over all surfaces and edges until your piece is even and unwrinkled.
Bisque firing
Glazing — see your bowl in color
Lock in your bowl scan, then preview glaze colors on the right.
Open the Speckled Field coloring set and brushes.
Apply 2–3 even coats. Let each coat lose its shine before the next.
Cross-stroke each layer to reduce streaks.